Irresistibly Fluffy Chocolate Chip Hot Cross Buns: A Delightful Easter Twist
Warm, fluffy dough studded with mini chocolate chips and topped with sweet, gooey frosting – a modern take on a beloved classic.

While traditional hot cross buns hold a special place in our hearts, sometimes a little innovation can elevate a classic to new heights of deliciousness. This recipe introduces you to a decadent twist: homemade chocolate chip hot cross buns. Forget the “classic” definition for a moment, because once you experience these sweet, fluffy, and irresistibly buttery treats, you’ll understand why a touch of chocolate makes everything better.
The very mention of “buns” evokes a comforting sense of nostalgia, stirring up cherished childhood memories. It conjures images of the tangy, yeasty aroma wafting from a warm oven, and the simple joy of slicing a freshly baked bun, allowing a pat of butter to melt gloriously into its soft, airy interior. These chocolate chip hot cross buns are designed to create new, equally delightful memories, particularly for your Easter celebrations.

Why Chocolate Chip Hot Cross Buns? A Sweet Revelation
Imagine the perfect harmony of flavors and textures: a tender, slightly sweet dough generously studded with an abundance of mini chocolate chips. Each bite delivers a burst of rich chocolate, perfectly complementing the yeasty warmth of the bun. These aren’t just an upgrade; they’re a revelation. We believe that when you can add the magic of chocolate, why wouldn’t you? It transforms a simple bun into an extraordinary dessert or a luxurious breakfast treat.
Our recipe ensures the buns are not only rich in chocolate but also incredibly soft and airy. We’ve loaded the dough with mini chocolate chips, ensuring that almost every bite offers that delightful chocolatey surprise. The mini chips melt beautifully when warm, creating tiny pockets of gooey chocolate heaven throughout the bun. This makes them absolutely perfect for any occasion, though they shine brightest during your Easter festivities, adding a modern flair to traditional holiday baking.

The Secret to a Perfect Rise: Choosing the Right Yeast
Achieving those perfectly perky, high-rising buns you see pictured here hinges on one crucial ingredient: quality yeast. For this recipe, we highly recommend using Red Star Platinum Yeast. We consistently keep several packets stocked in our pantry because its Platinum variety guarantees an exceptional rise every single time. Good yeast isn’t just about making the dough expand; it contributes significantly to the texture, flavor, and overall success of your baked goods.
Using a reliable yeast like Red Star Platinum helps ensure your buns are wonderfully fluffy and light, not dense or heavy. It’s an active dry yeast that typically doesn’t require proofing, though our recipe includes a brief proofing step to confirm its vitality and give you confidence before mixing it into the main dough. This small extra step ensures your efforts result in magnificent, airy buns. Remember to always check the expiration date on your yeast packets and store them properly for optimal performance!
The Irresistible Icing: A Sweet, Spicy Finish
Once your glorious chocolate chip hot cross buns have cooled slightly, they are treated to a generous drizzle of sweet, sticky icing. But this isn’t just any icing; we’ve laced it with a delicate hint of cinnamon, adding an extra layer of warmth and spice that beautifully complements the chocolate and the rich bun itself. The contrast between the soft bun, the melted chocolate, and the slightly spiced sweet glaze is truly divine.
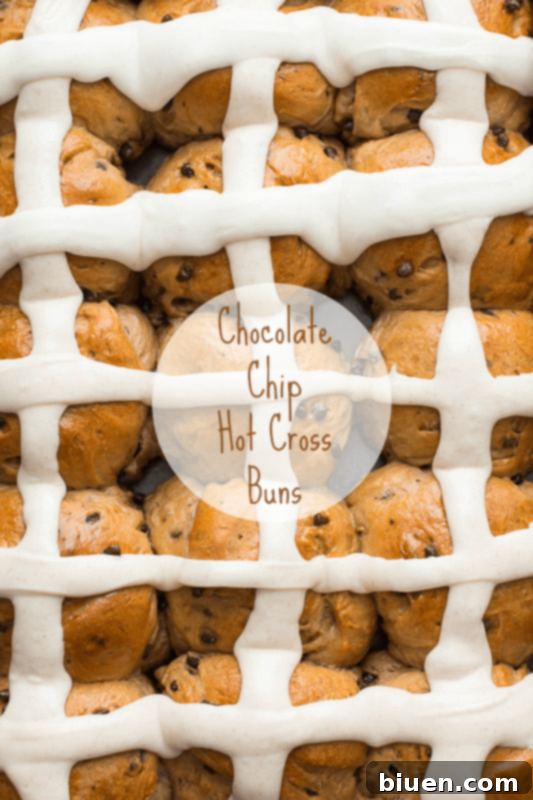
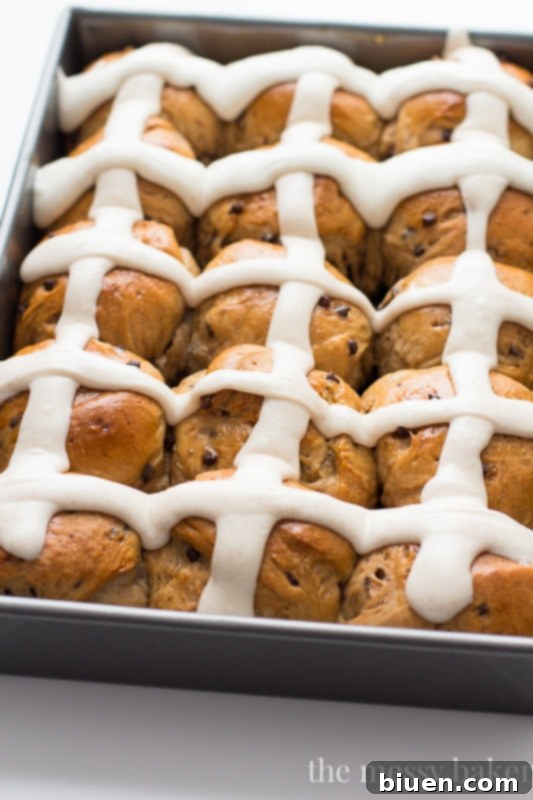
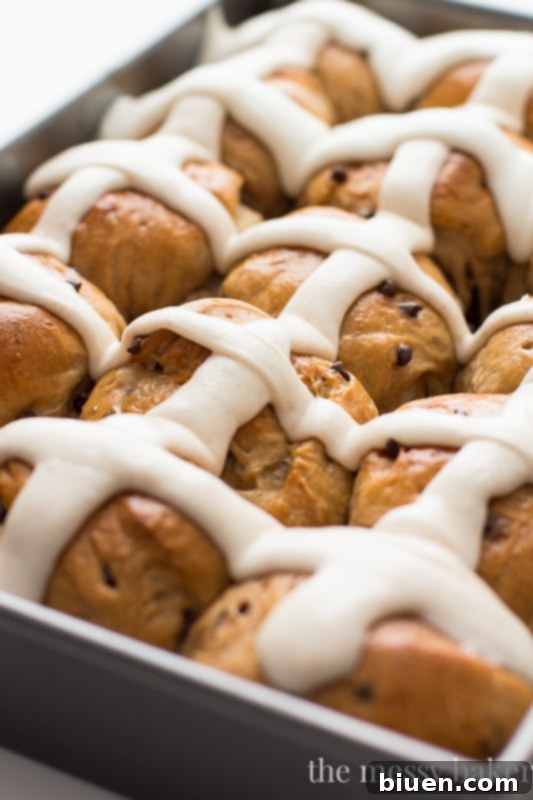
You might notice that the piped cross on these buns looks a bit like a “drippy mess.” That’s because we believe taste always trumps aesthetics, especially when it comes to homemade treats! We always add extra icing to our buns, embracing the delightful, rustic charm of a bun generously coated in sweet goodness. Don’t be shy with your icing; let it cascade down the sides, promising a delicious sticky sweetness with every bite. The joy of homemade baking often lies in its imperfections, making each bun unique and lovingly crafted.

Serving Suggestions and Storage Tips
Be warned: a pan of these homemade chocolate chip hot cross buns will vanish remarkably quickly! They are utterly addictive, and it’s rare for one to linger for long. However, should you be lucky enough to find a solitary bun remaining, a quick warm-up in the microwave for a few seconds will instantly revive it, bringing back that delightful “just-out-of-the-oven” taste and making the chocolate chips wonderfully gooey again. They’re perfect served warm with a cup of coffee or tea, or even as a comforting dessert.
For best results, these buns are most delicious eaten the day they are baked. However, they can be stored in an airtight container at room temperature for up to 2-3 days. If you plan to keep them longer, they freeze beautifully! Simply wrap individual buns tightly in plastic wrap and then aluminum foil. Thaw at room temperature and reheat gently in the microwave or oven until warm. Enjoying these fluffy chocolate buns is a simple pleasure that can be savored at any time.

Chocolate Chip Hot Cross Buns
Warm, fluffy dough generously studded with mini chocolate chips and crowned with a luscious, sweet, gooey cinnamon-laced frosting. A modern twist on a classic treat!
Yield: 15 buns
Total Time: 3 hours 45 minutes
Prep Time: 3 hours 15 minutes
Cook Time: 30 minutes
Ingredients:
For the Fluffy Dough:
- 5 and 1/2 cups all-purpose flour, divided
- 1 (3/4 ounce) package Red Star Platinum Yeast
- 1/2 cup hot water (ensure temperature does not exceed 110 degrees F. for optimal yeast activation)
- 1/2 cup granulated sugar
- 1 teaspoon kosher salt
- 6 tablespoons unsalted butter, melted
- 1/2 cup milk (whole milk recommended for richness)
- 1 teaspoon pure vanilla extract
- 3 large eggs, divided (2 for the dough, 1 for egg wash)
- 1 cup mini chocolate chips (or regular chocolate chips, if preferred)
For the Sweet Cinnamon Icing:
- 2 cups powdered sugar
- 2-3 tablespoons milk
- 1/8 teaspoon ground cinnamon
Directions for Baking Your Delicious Chocolate Chip Hot Cross Buns:
- Activate the Yeast: In a small bowl or measuring cup, add 1/2 cup hot water. Sprinkle the Red Star Platinum Yeast over the water and gently stir to combine. Allow this mixture to sit undisturbed for 5-10 minutes until the yeast blooms and becomes foamy, indicating it’s active and ready to work its magic.
- Combine Dry Ingredients: In the bowl of a stand mixer fitted with the dough hook attachment, add 4 and 1/2 cups of the all-purpose flour, granulated sugar, and kosher salt. Turn the mixer on low speed and mix for about 10 seconds to thoroughly combine these dry ingredients.
- Prepare Wet Ingredients: In a separate bowl, whisk together the melted butter, milk, pure vanilla extract, and 2 of the large eggs until well combined.
- Form the Dough: With the stand mixer running on low speed (speed 2), gradually add the foamy yeast mixture to the dry ingredients in the mixer bowl. Slowly pour in the butter and egg mixture. Continue to mix on low, periodically scraping any flour from the sides of the bowl to ensure all ingredients are incorporated. Once the initial flour is fully absorbed into the dough, slowly add an additional 1/2 cup of flour, continuing to scrape the sides of the bowl as needed until a cohesive dough forms.
- Add Chocolate Chips: Stop the mixer. Remove the dough from the hook and scrape down the sides and bottom of the bowl to gather all the dough. Turn the mixer back on low speed (speed 2) and gradually add the mini chocolate chips. Continue to mix on low for 5 minutes, allowing the chips to be evenly distributed throughout the dough.
- Hand Kneading and First Rise: Transfer the dough to a lightly floured surface. Continue to knead the dough by hand, gradually incorporating the remaining 1/4 cup of flour into the dough. This process should take an additional 5 minutes. You’ll know the dough is perfectly kneaded when it feels elastic, springs back slightly, and is no longer sticky to the touch. Place the dough in a large, lightly greased bowl, ensuring it has room to expand. Cover the bowl with a clean, dry towel and let it rise in a warm, draft-free place for 1 and 1/2 hours, or until it has roughly doubled in size.
- Shape the Buns: Gently punch down the risen dough to release the air. Transfer the dough back to a lightly floured surface. For uniform buns, measure out 15 dough balls, each weighing approximately 95 grams (a digital kitchen scale is highly recommended for accuracy). Roll each measured piece of dough into a smooth, round ball. A simple technique is to place the dough on a clean, smooth surface and roll your palm over it in a circular motion, applying gentle pressure.
- Second Rise: Grease a 9-inch-by-13-inch baking pan with butter or a nonstick baking spray. Arrange the shaped dough balls in the pan, spacing them about 2 inches apart to allow for expansion. You should have 5 rows, with 3 dough balls in each row. Cover the pan again with a clean, dry towel and allow the buns to rise for another 1 to 1 1/2 hours, or until they have doubled in size and look puffy.
- Bake the Buns: Preheat your oven to 350 degrees F (175 degrees C). In a small bowl, prepare an egg wash by whisking the remaining large egg with 1 teaspoon of water. Gently brush the tops of the risen buns with this egg wash; this will give them a beautiful golden-brown sheen. Bake the buns for 28-30 minutes, or until they are a deep golden brown and cooked through.
- Cool and Ice: Carefully remove the pan from the oven. Place the buns on a wire rack and allow them to cool completely in the pan before proceeding with the icing. Once cooled, pipe the tops of the buns with the prepared cinnamon icing to create the signature cross pattern.
Directions for the Sweet Cinnamon Icing: In a large bowl, whisk together the powdered sugar and ground cinnamon until well combined. Begin whisking in 2 tablespoons of milk. Continue to whisk until the mixture is smooth and thick enough to pipe easily. If the icing appears too thick, gradually whisk in the extra tablespoon of milk, a little at a time, until it reaches your desired consistency – it should be flowing but not too thin. Transfer the finished icing mixture to a piping bag or a large zip-close bag (then snip off a small corner of the bag to create a piping tip).
All images and text ©One Sweet Mess.
Essential Baking Tools I Used to Make This Recipe:
• Stand mixer (a powerful tool for effortlessly kneading dough)
• Digital kitchen scale (for precise dough ball measurements, ensuring consistent bun size)
• 9-inch-by-13-inch baking pan (the ideal size for baking these beautiful buns)
Explore More Delicious Recipes You’ll Love:
 Cinnamon Swirl Loaves
 Nutella & Toasted Pecan Sweet Rolls
Disclosure: This delicious recipe for Chocolate Chip Hot Cross Buns was thoughtfully developed in collaboration with the amazing folks at Red Star Yeast. All opinions expressed regarding their wonderful products and the success of this recipe are entirely my own. Thank you for continuing to support my recipes and this site as I partner with brands I genuinely adore and trust. Happy baking!
